Opening Post

(去年11月的富士山,好想去日本…)
終於,花了些時間把部落格弄好,雖然不是特別厲害的事,但自己完成多少還是有些許成就感。
這個部落格感覺應該遠在兩年前就要弄好,但…人嘛,藉口總是很多 XD
轉職後成為工程師到現在,也累積了不少筆記和內容,希望能藉由這個部落格,
慢慢地持續分享 ~
第一篇就來分享一下如何架設這個簡單的部落格~
(ps. 以下內容為自己研究摸索後的實作過程,相信一定有更多更好的方式達成,就僅供參考囉)
Tools
TL;DR
部落格使用 Hexo framework 建立,部署在免費的 GitHub Pages,部署過程使用 GitHub Actions 完成。
Using Hexo
Hexo 為專門用於建立網誌的框架,主要撰寫 markdown 格式檔案,Hexo 會將相關檔案編譯後轉成靜態檔案 (html, css, js…),也有多種不同 Theme 可使用。
安裝 hexo (macOS)
1
> brew install hexo
cd 到專案資料夾
1
2
> hexo init ./
> npm install這時候下
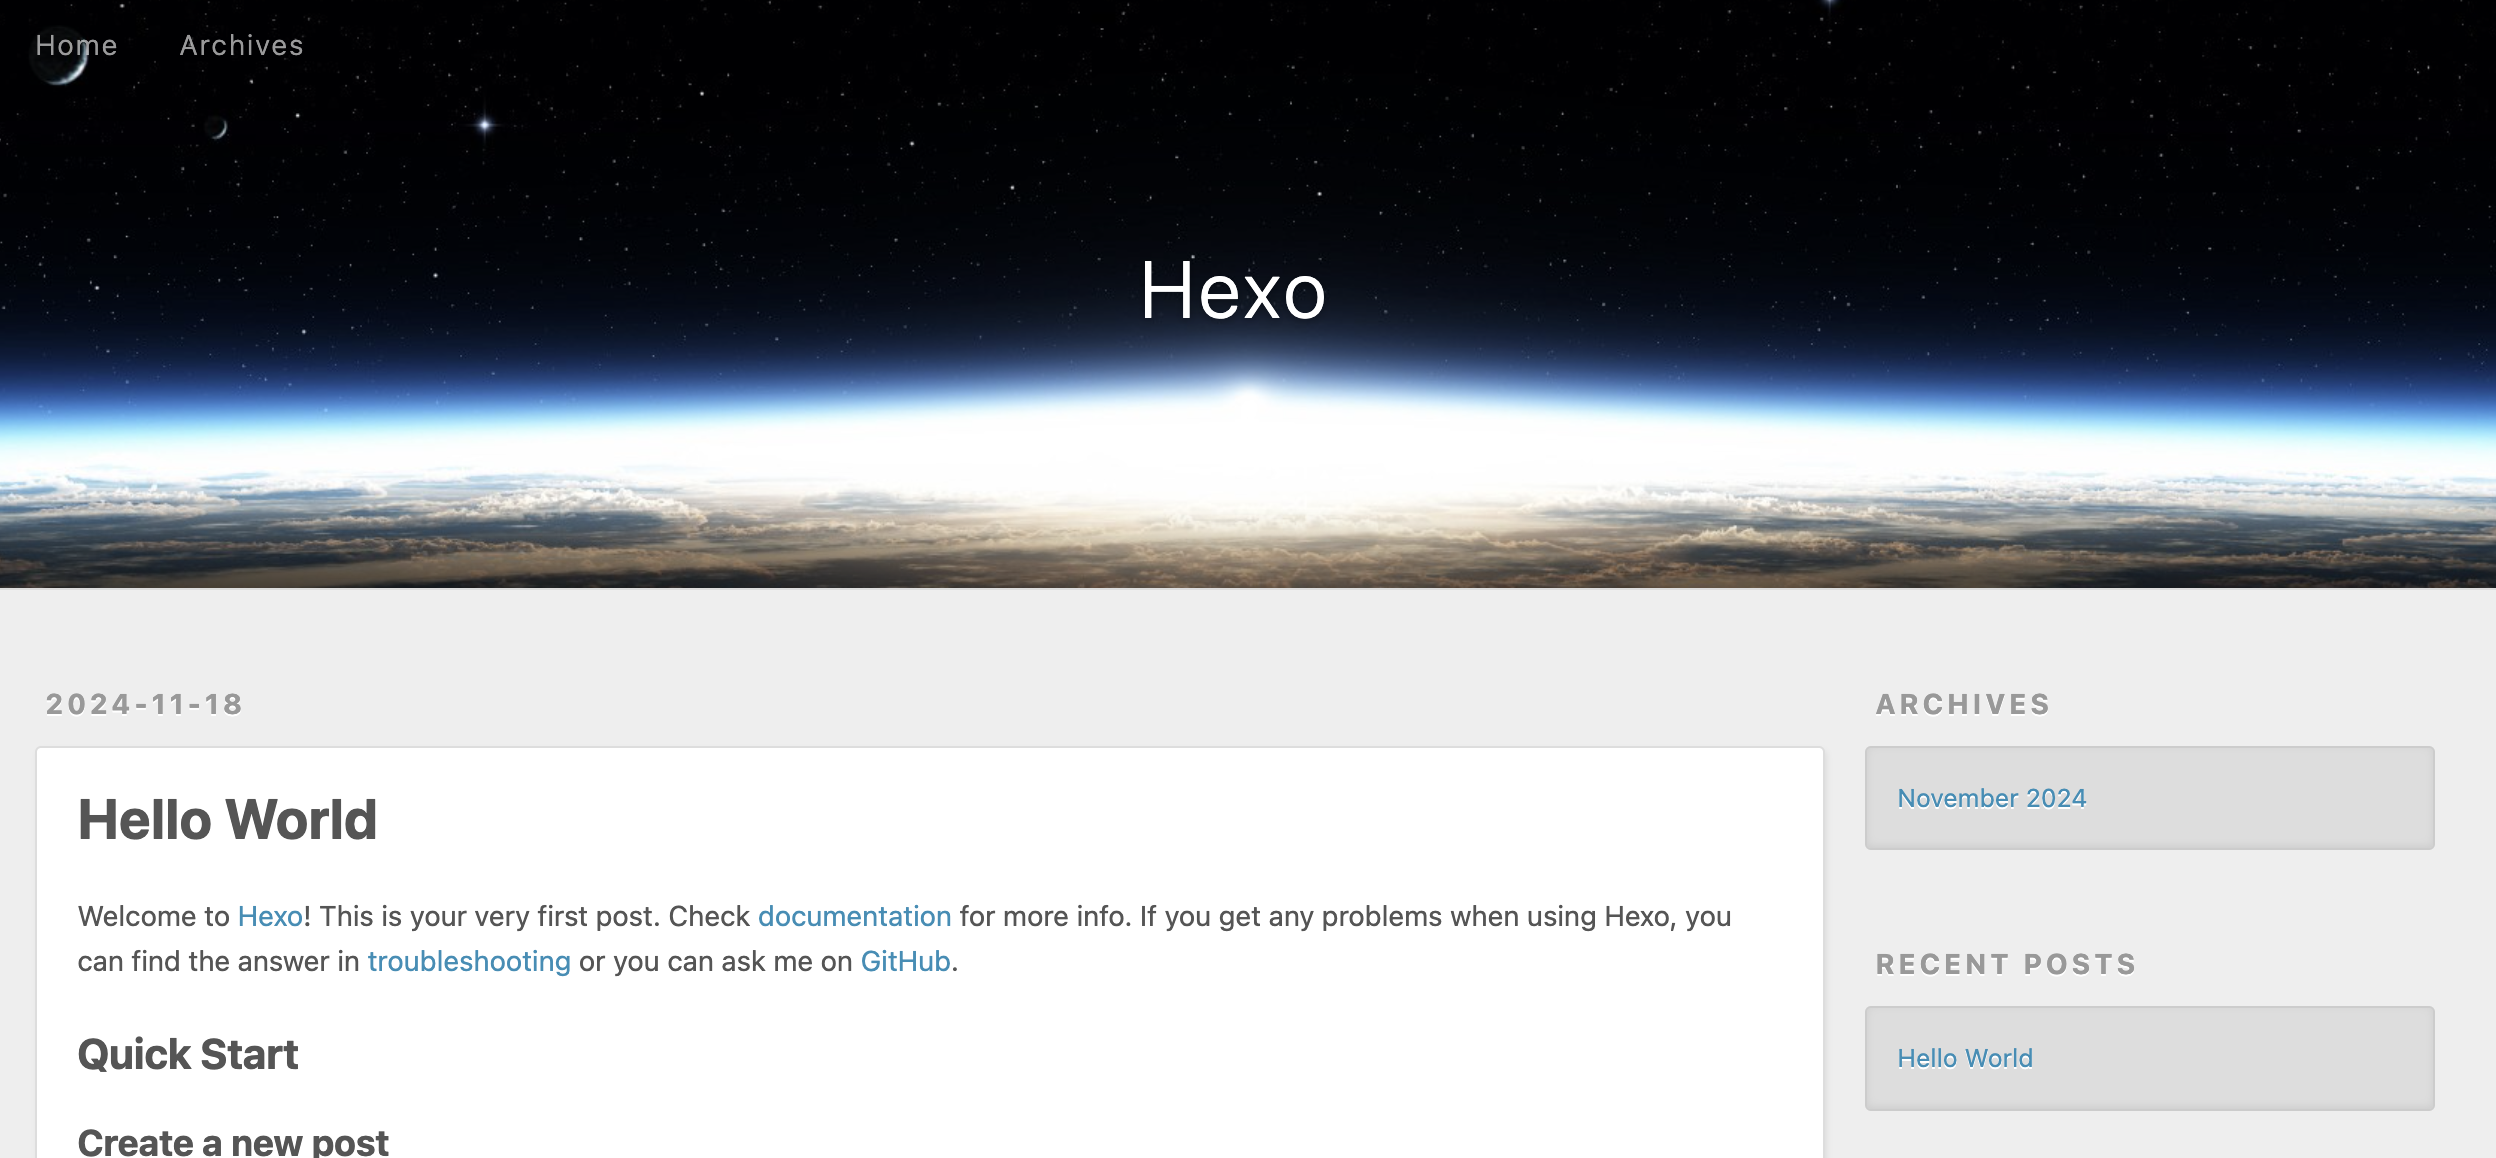
hexo server,進入localhost:4000會看到 default 頁面。

- 這邊我使用 NextT 主題,需額外 clone 下來使用 clone 完成後,需更改一些設定後才能使用,
1
2
# under project root directory
git clone https://github.com/next-theme/hexo-theme-next themes/next
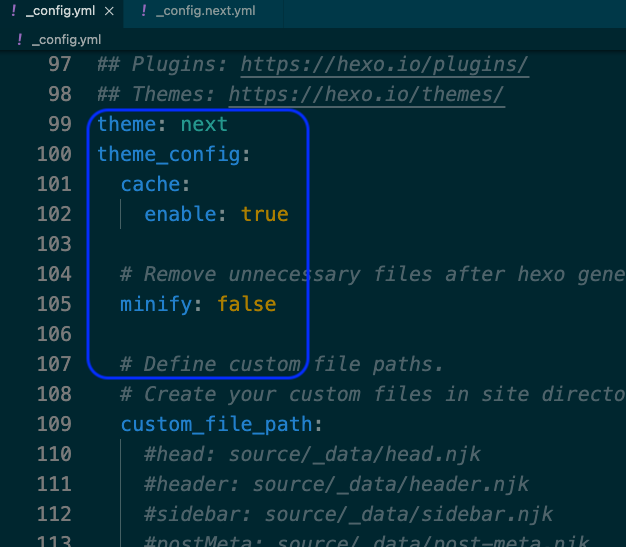
先將themes/next/_config.yml檔案 copy 一份成_config.next.yml。接著將1
cp themes/next/_config.yml _config.next.yml
_config.next.yml裡面的內容整份複製到 Hexo 的_config.yml檔,這邊複製後的內容要縮排兩個空格,且在上面加上theme_configkey,
最後記得將theme改成next。 這時候重啟 server 可以看到不一樣的頁面。
 1
2
3> hexo clean
> hexo generate
> hexo servernote :
將 NextT 設置完成後,本來想說先推到 repository 上,但出現了下面這個沒看過的 warning :

因為在原先的 repo 又 clone 了另外一個 NextT 的 repo,git 提供 submodule 的方式去分開管理 inner repo。
1
2
3
4
5
6
7
8
9git submodule add https://github.com/next-theme/hexo-theme-next themes/next
# cd 進 themes/next
# 定版在某個 tag 版本
git checkout v8.21.0
# 接著正常 add & commit
git add .
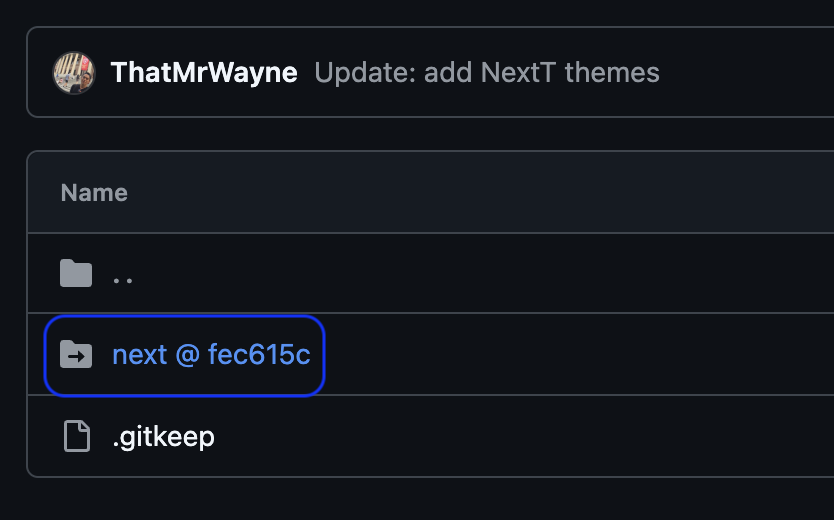
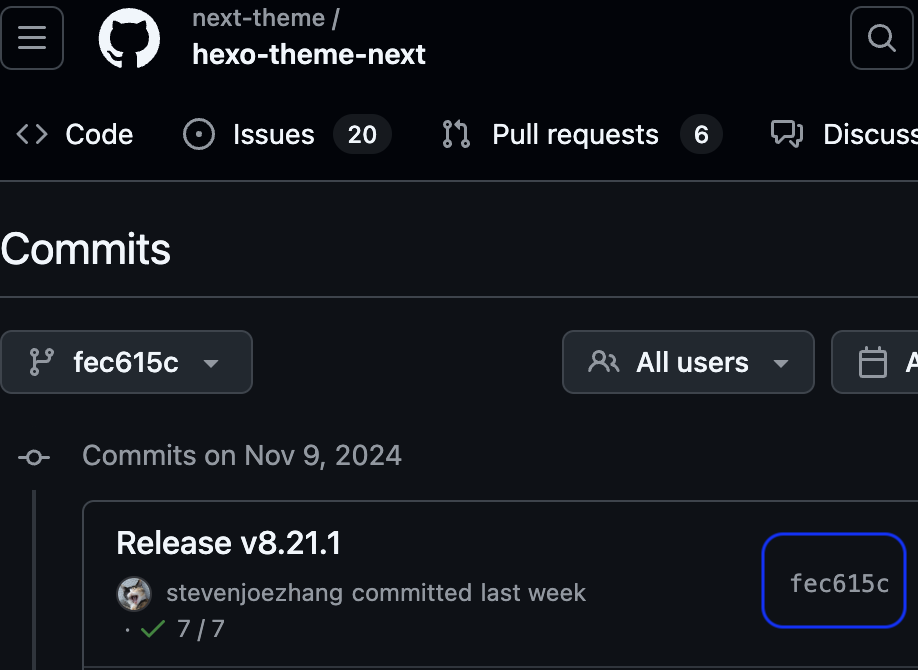
git commitcommit 完成後推上去,可以在 github repository 上看到該 inner repo 旁多了一個 commitID ,這個 commitID 和 checkout 的 tag version 是同個 commitID。


(snapshot ref : next-theme)
Github Pages & Github actions
有關 Hexo 部署方式有幾種不同方式,這邊選擇部署到官方文件提到的 Github Pages,並搭配 Github Actions。
寫部署 yaml 檔
其實網路上有 Hexo 部署的 GitHub Actions 可以使用,但這邊我實際用過是沒有成功,最後決定還是先依照官方文件去寫。首先要寫 Github Actions yaml file,參考 Hexo 官方文件 提供的範本去撰寫。
實際 deploy yaml 檔請參考 -> 點這裡。- 簡述一下 yaml 檔內做的事 :
a. 設定 push 時會觸發 workflow 的 branch (此處使用 main)
b. github action 會起一台虛擬機器,checkout 到 main branch
c. 設定 Node.js 環境
d. 設定 Cache depenedency 路徑
e.npm isntallfrom package-lock.json
f.num run build執行 package.json 裡 build 指令,此處會執行 command :
1
hexo generate
產生 static file,並置於根目錄底下的 public 目錄
g. github actions 將 public 目錄的內容壓縮並上傳到暫存空間
h. 進入 deploy job 時會讀取上一步上傳的壓縮檔案
i. 最後 deploy 到 github-page server 上- 簡述一下 yaml 檔內做的事 :
寫完 yaml 檔後後 push 上去
執行 git push 時又噴了一個錯誤,原來是我的 Github Personal Access Token 權限不足…,重新設定一個有將 workflow 打勾的 Token。
worflow 要記得打勾 ⬇️
最後 push 上去後就可以看看 Github Actions 有沒有 build 成功啦 ~
對了要記得進到 repository 裡的 pages 設定,選擇 source 為
Github Actions
Note
有幾點是過程中沒注意到的事,也記錄一下。
由於放部落格的 repo 名稱是
blog,Github pages 給的 domain name 會是https://{username}.github.io/blog,因此需要更改 Hexo_config.yml裡的 root 設定為/blog/,Hexo 會依照 root dir 設定產生 html 內的連結 path。1
2
3
4
5# 沒設定 root (default 為 /)
css/file1.css
# 有設定
/blog/css/file1.css如果沒有設定會導致網站首頁拿不到後續的靜態檔案。

在 repo 根目錄加上
.nojekyll的空文件跳過 github default build process,因為要用Hexobuild。- jekyll 係蝦米?以下是 claude 的不負責任回答 😎
Jekyll is a static site generator similar to Hexo,
but it’s built with Ruby instead of Node.js.
It’s particularly notable because it’s the default
static site generator for GitHub Pages.
- jekyll 係蝦米?以下是 claude 的不負責任回答 😎
都搞定後就可以依照 Hexo 文件教學開始寫文章啦 ~ ~ 🎉
最後分享最近去上課看到的兩句話
紙上得來終覺淺
絕知此事要躬行
宋·陸遊 《冬夜讀書示子聿》
See ya ~ 👋